


Thanksgiving would not be complete without stuffing! Before we can eat stuffing, we need dried bread cubes. You may purchase them at your local grocery store, or you can make your own. Because of my obsession with natural yeast, I opt for making my own bread cubes!
Stuffing is my favorite part of a Thanksgiving meal, but I am super picky about it. Only my grandma’s classic, no frills stuffing has my heart.
It’s super easy to make your own dried bread cubes for stuffing, but it does take some advanced planning.
There is nothing, NOTHING in a box that will compare to homemade dressing on Thanksgiving day (or any day). It’s not too hard to make your own and throw it in while the turkey is cooking, and your guests will thank you. I will post my recipe for stuffing early next week, but for now, get drying some bread!
I prefer to use two different types of bread, to add some color to the stuffing. This year I used my Easy Sourdough Dutch Oven loaf, and a loaf of Honey Whole Wheat Molasses bread.
One of the obvious main reasons I prefer to make my own is so that I can use my natural yeast bread and avoid any discomfort after the meal from commercial yeast/gluten. I may be biased, but it also tastes WORLDS better than the other stuff!
- 3-4 loaves natural yeast bread of different varieties
- Preheat oven to 200 degrees.
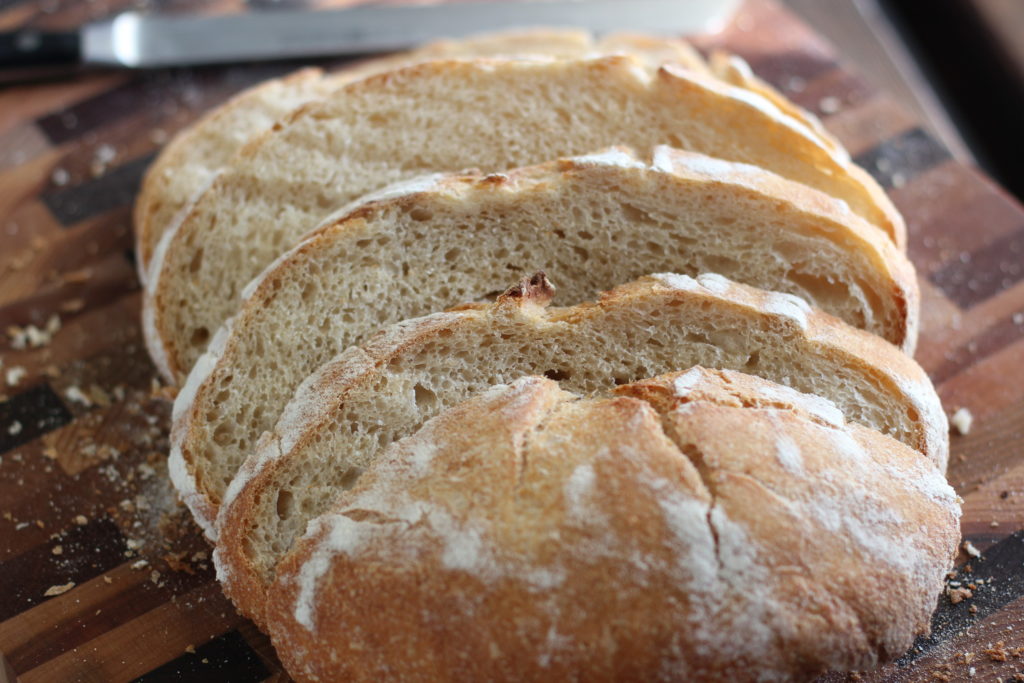
- Take each loaf of bread and cut into slices.
- [url href=”undefined”][img src=”http://www.simplelifebykels.com/wp-content/uploads/2016/11/IMG_1298-1024×683.jpg” width=”980″ height=”654″ class=”aligncenter size-large” title=”dried bread cubes simple life by kels” alt=”dried bread cubes simple life by kels”][/url]
- Cut each slice into small cubes, about 1/2″ x 1/2″
- [url href=”undefined”][img src=”http://www.simplelifebykels.com/wp-content/uploads/2016/11/IMG_1301-1024×683.jpg” width=”980″ height=”654″ class=”aligncenter size-large” title=”dried bread cubes simple life by kels” alt=”dried bread cubes simple life by kels”][/url]
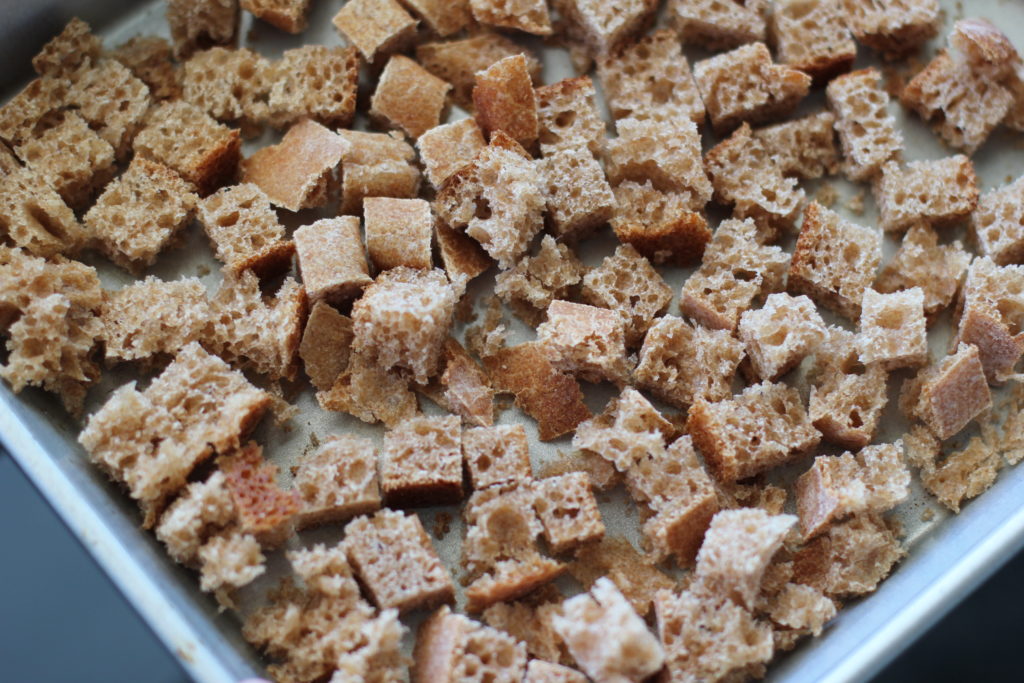
- Throw all of the cubes onto a sheet pan and place in the oven.
- [url href=”undefined”][img src=”http://www.simplelifebykels.com/wp-content/uploads/2016/11/IMG_1305-1024×683.jpg” width=”980″ height=”654″ class=”aligncenter size-large” title=”dried bread cubes simple life by kels” alt=”dried bread cubes simple life by kels”][/url]
- Depending on oven temps, dry cubes for about 20-30 minutes, or until completely dry, and shaking the pan halfway through.
- [url href=”undefined”][img src=”http://www.simplelifebykels.com/wp-content/uploads/2016/11/IMG_1304-1024×683.jpg” width=”980″ height=”654″ class=”aligncenter size-large” title=”dried bread cubes simple life by kels” alt=”dried bread cubes simple life by kels”][/url]
- Store dried cubes in a bag until ready to use, or throw into the freezer for future use.


Comments +