Easy Sourdough Dutch Oven Bread
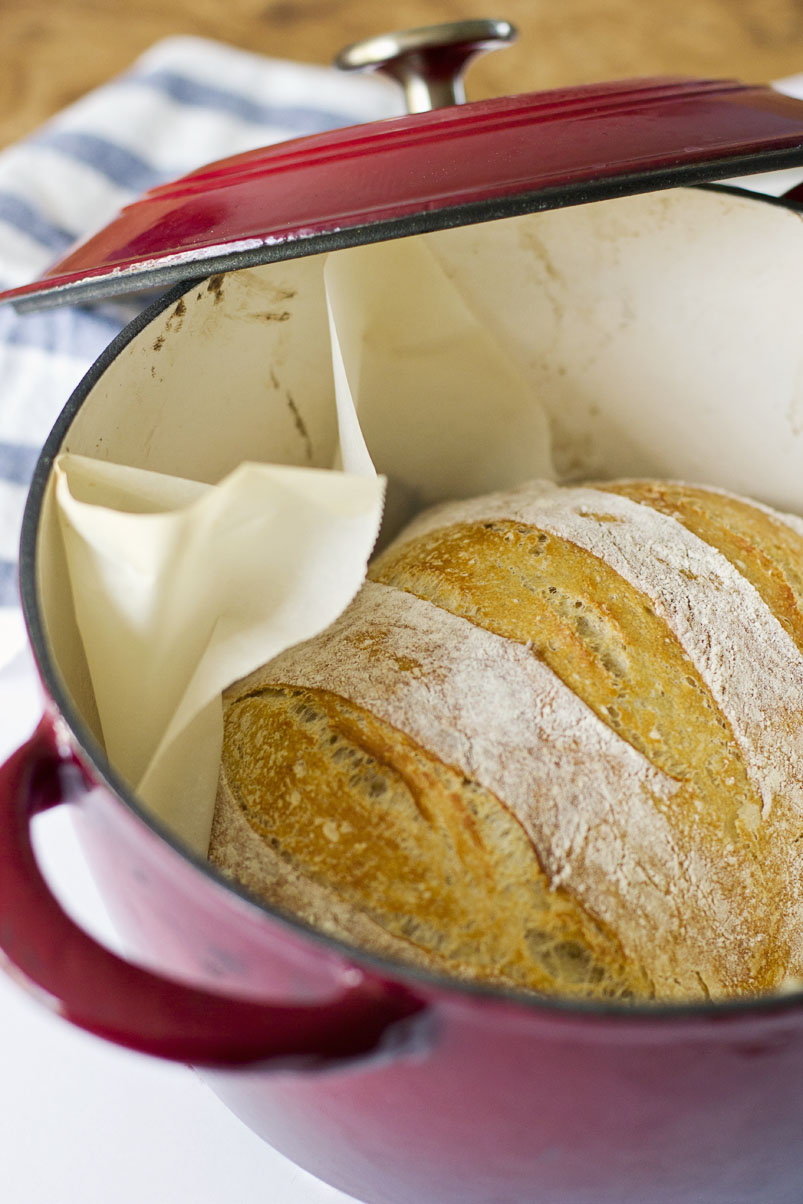
This is a tried and true great artisan sourdough loaf that will make your family swoon. I love pulling this one out of the dutch oven every time. It’s great for gifting to neighbors and friends as well. I love this loaf alongside a meal or we use the leftovers for broiled mozzarella and fresh tomato open faced sandwiches. It doesn’t keep great, so be sure to eat it up within the first day or two. I don’t think you’ll have any problem with that!
Ingredients
- 3 – 3 1/4 c flour unbleached all-purpose flour
- 1 1/4 c water
- 3/4 c active sourdough starter
- 1 T honey
- 1 1/2 tsp sea salt
Step by Step Instructions
Step 1
Mix water, starter, honey, salt, and 2 c flour in your Bosch or stand mixer. You can also easily make this loaf by hand – a danish dough whisk comes in real handy!
Step 2
Allow the shaggy dough to rest for 20 mins to allow the flour to soak up as much moisture as possible.
Step 3
Add more flour as needed to form a soft, slightly sticky dough that pulls away from the sides of the mixer and forms a ball.
Step 4
Knead until dough comes together in a slightly sticky ball (a few minutes by hand).
Step 5
Place dough in a lightly greased bowl. Cover with a kitchen towel and set a timer for 15 mins.
Step 6
When the timer goes off, return to the dough with wet fingertips and gently pull one side up and into the center, turning the bowl 1/4 turns and repeating all the way around the dough ball. Repeat every 15 mins for the first hour.
Step 7
Fold dough this way every hour for the next 4-6 hours. (It’s okay if you forget – even that first hour of this folding technique will help!)
Step 8
After the long rise, place your dough on a lightly floured surface and fold one more time. Let rest 5-10 mins.
Step 9
Flip dough over and gently tuck it around and under as you rotate it, to create a nice firm surface and some tension as your form your boule. Try to get the top of the dough really tight. This will help your dough rise up in the oven more effectively.
Step 10
Place dough seam side up in a well floured banneton or greased bowl. Cover lightly with a towel or greased plastic wrap and set aside.
Step 11
Preheat your oven to 500 degrees, with the dutch oven inside for 45-60 mins. If your dutch oven can’t withstand that heat, preheat to 450.
Step 12
Allow loaf to rise while oven is heating or until a fingertip pressed into the surface causes the dough to slowly fill back in.
Step 13
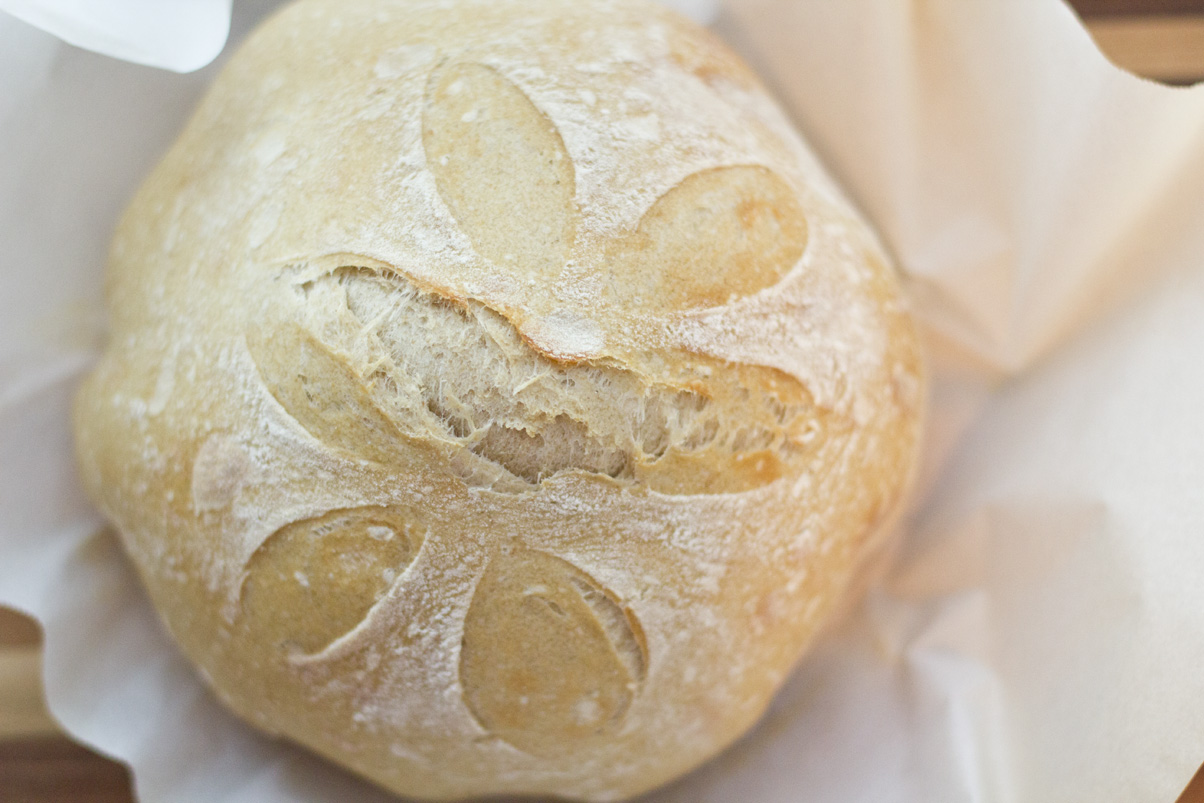
Invert dough onto a piece of parchment paper. Immediately before adding the dough to the dutch oven, slash the top with a sharp serrated knife or lame. Make quick, confident strokes about ¼” deep.
Step 14
Put dough in the Dutch Oven with the lid on, reduce the heat to 430 degrees, and bake for 20 mins.
Step 15
Remove the lid and bake another 15-20 minutes or until the top is golden brown and the bottom sounds hollow when tapped.
Step 16
Cool completely before slicing – this is important – the bread continues to build structure as it cools, so if you cut into it hot it may appear underbaked or doughy inside.
**Tip**
If your bread is overbaking on the bottom, place a baking sheet on the rack beneath it to help deflect some of the heat. You may also need to turn down the temperature of your oven if it bakes hot, and cook it for longer at a lower heat.




This recipe is so good!! I doubled the recipe but didn’t have a second Dutch oven so I just put the whole huge loaf in one pot. Baked for 20 min with the cover on (I’ll try 25 min next time because it’s still a tiny bit doughy in the middle) and 13 min uncovered. I can’t wait to try your cin roll recipe!
I’m so glad you liked it!!! It’s one of my stand-bys for sure!
Hi Kelsey! Do I feed the starter and then take out 3/4c for this recipe or take the 3/4c first and then feed it? Also, how do you actually start a starter?
Thank you!
Brittany,
Hi! You measure out what you need, then feed the remaining starter! The best way to get started with it is to find someone with a good starter that you know makes excellent bread! There are over 1,000 strains of wild yeast, so if you capture your own and make a starter from that, you never know what you are going to get! I know people have had success with it, but I prefer knowing it’s good before putting in all the effort! I do sell my starter in freeze dried packets here on my blog, and it’s over 200 years old, happy, and makes wonderful bread! It’s very mild. If you want to make your own, I would just google “how to make a sourdough starter” but it will have more tang than a natural yeast start.
Let me know if you have questions!
HELP! I was so excited for this recipe and for some reason my dough wouldn’t ride. 🙁 Could you help me problem solve? I thought my starter looked good because it had bubbles throughout and had formed liquid on top that I got rid of so then I followed the recipe except for the flour…I used 2 c unbleached white and 1 c whole wheat. I also dont have an attachment on my kitchen aid so I used my hands for kneading for about 10 minutes. My husband thinks it wasn’t warm enough for the dough. It’s probably 70 degrees in our house and I put it on top of a warm oven? (For some reason I couldn’t figure out how to turn the light on in the oven). Anyways it never really looked like it was rising correctly but I tried baking anyways just in case I was wrong and it turned out to be a dense disc of blah that no one would want to eat. :(… (Crying face) Any suggestions?! I’m determine to make beautiful bread some day lol!
You WILL make beautiful bread, I promise! It takes time. How long did you let it rise the first time? Had it risen at all before braiding it? Or was this just the second rise where it didn’t get up there? My first thought is that it probably wasn’t kneaded enough to start. If doing it by hand, it should take at least 20 minutes (a real workout!) because you just aren’t going as fast as a mixer would. I have done it lots in the past and it takes a while. To see if it’s kneaded enough, grab a chunk of the dough and gently stretch it apart with your fingertips. If it tears, it isn’t done. If you can see through it and it doesn’t tear, it’s opaque, then it’s ready! It needs to be smooth and elastic before you let it rise.
Then let me know about the rise times. And we’ll go from there! And thank you for asking so many questions — it makes me happy that you are really invested in making it work. It will take some time, but you will get there. My first loaves 4 years ago were AWFUL. haha.
I was also going to ask if there’s a substitute for a Dutch oven? We have to borrow one until we can buy one!
You can bake the loaf just on a sheet pan in the oven! It won’t get as crusty on the outside/chewy on the inside, but will still bake a great loaf.
Can’t wait to make this bread, just started my natural yeast. Do I cover the start in the fridge? Novice here…
Yes, put a non-airtight lid on it. You can flip the canning lids around so the rubber ring faces up, then screw that on if it’s what you’re using! I have a video on youtube showing how to reconstitute the freeze dried stuff. It will be 3 quick parts!
How big is your dutch oven? 5 quarts?
I think so . . . at least!
Do you have this recipe in weight in stead of cups?
I don’t, sorry!
A note to McKenna’s question. I am English & also prefer weight measurements., however a cup is usually 8 ounces & 2 cups weighs a lb. It works well for me. I know it will for you.
Thanks for that!
Something is wrong with how I’m making it. I’ve let my yeast get bubbly, but after I finish making the recipe, the dough mixture is still so doughy (like I need to add about 2 more cups of flour) and doesn’t hold a shape. Should I add more flour, i added some extra this time because the dough was still “sticky”. I’ve made lots of bread in the past so I know what it should look like before you let it raise, but mine was so doughy. Help!
Are you letting it sit and rest for a bit with about a cup of flour before adding the rest? This really helps soak up some of that moisture. But yes, this dough is a little more sticky than others because you want those big bubbles throughout. I err on the side of less flour then shape it with extra if I can’t handle it without flour because it’s too sticky. That seems to help and get it manageable enough to shape and rise a second time. I have never used more than the called for amount of flour in this recipe, but altitude would effect that as well!
Thank you so much for the receipe! You made my day. It was my first sourdough bread i made. There is no word to say how delicious the bread is and way easier than other breads. I used my hands to knea the dough but it rised and looks great. its something definately worth to try ! Thank you again ! Can not wait to try other receipes!
awww thank you so much for this comment – it made MY day!
I had to add about 2 extra cups of flour, and it was still sticking to my hands and the table 🙁 I don’t know why… my sourdough was like a pancake mix consistency. I’m letting it rise now… we’ll see what happens!
how did it turn out?