As I mentioned in my last post, I tried to make jelly for the first time using some of the currants we picked last week. I was a little hesitant, because if you don’t cook it for the right amount of time you will either get syrup, or . . . candy? I have been making candy around Christmas time for years and years, so I feel pretty confident doing “spoon tests” and such to tell when things are ready without a thermometer. I decided it couldn’t be too hard, and dove right in. I was right, it was EASY!
Step 1: Place currants into a large pot and heat over medium heat. I added a little bit of water to the pot just to prevent them from sticking (maybe 1/4-1/2 c). Stir them around and when they start to let their juices out, you can take a potato masher and squish them up some to get things moving.
Step 2: Continue to cook for about 20 minutes or so, until the fruit has lost its vibrant color and the juice is mostly out of the berries.
Step 3: Place crushed berries in a cheese cloth-lined colander resting on a large bowl. Let sit overnight and the juices will run out gradually. *** IMPORTANT: Do not squeeze the cheese cloth to get more juice, this will make your jelly “cloudy.”
Step 4: See how much juice you’ve collected, then place it into a large pot. Add approximately the same amount of organic cane sugar (I had almost 4 c juice, and added about 3 1/2 c sugar). Heat over high heat to a boil.
Meanwhile, make sure you have your hot water bath canner ready to go, your lids in hot water, and your jars sterilized!
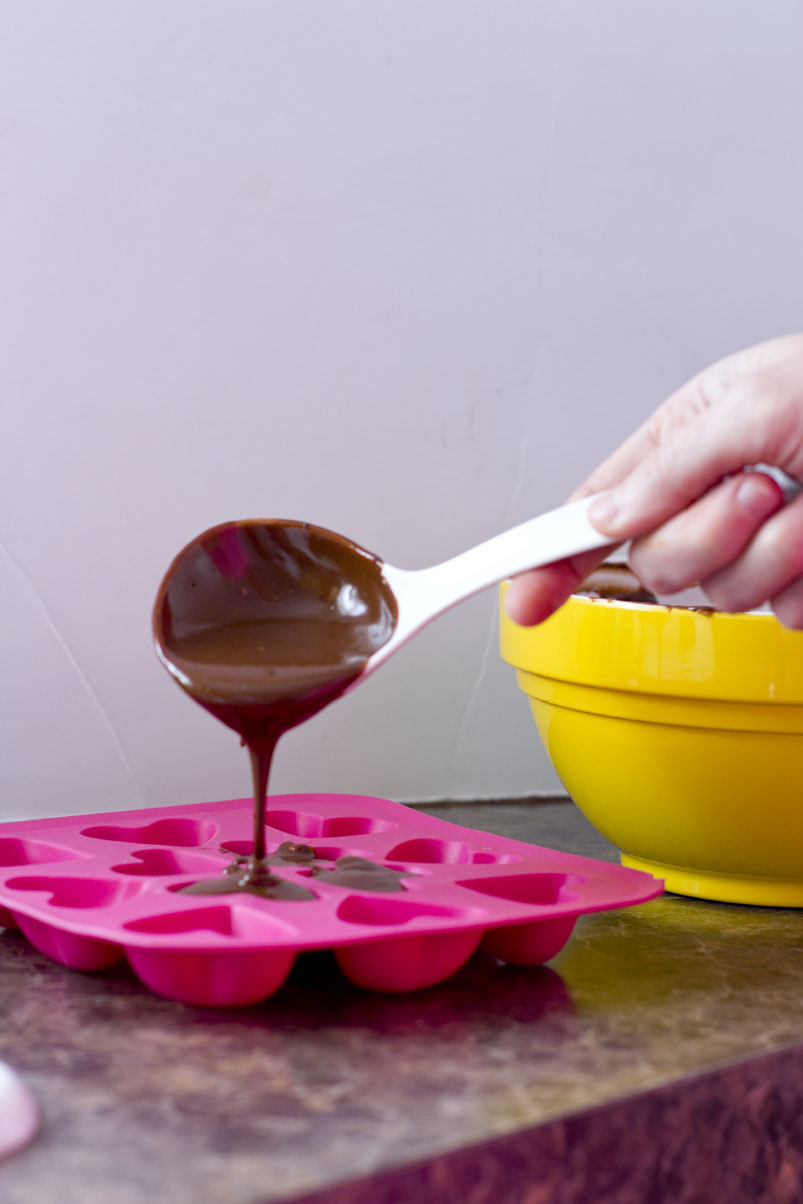
Step 5: Cook your jelly until it slides off of a spoon in one “sheet.” In the first picture above, the jelly had just started boiling. It begins by just dripping off the spoon in one drip. The second stage is when you lift it up and the jelly drips off in two drips. This stage happened so quickly that by the time I tested it, realized it was “two” drips, then tried to get a picture, it was already sheeting off! Once it starts to sheet off the spoon, it’s done! Remove from heat and ladle into your prepared jars and process for 5 minutes (I timed mine for 10 because of my altitude). Currants are naturally really high in pectin, so you don’t need to add anything else, just the berry juice and some sugar and you’re set.
Cool jars on the counter for 24 hours, then check to make sure they sealed. It’s that simple!
I got four jars of orange currant jelly, and two jars of black/red currant jelly. I had actually never tasted currant jelly before making this, but what I did sample was pretty good! I think it would be excellent on a grilled cheese sandwich . . . mmm! Whatever it tastes like, it sure does look pretty!


Do you mind if I quote a couple of your posts as long as I provide credit and sources back to your blog?
My blog is in the very same niche as yours and my visitors would truly benefit from some of
the information you present here. Please let me know if this ok with you.
Cheers!